
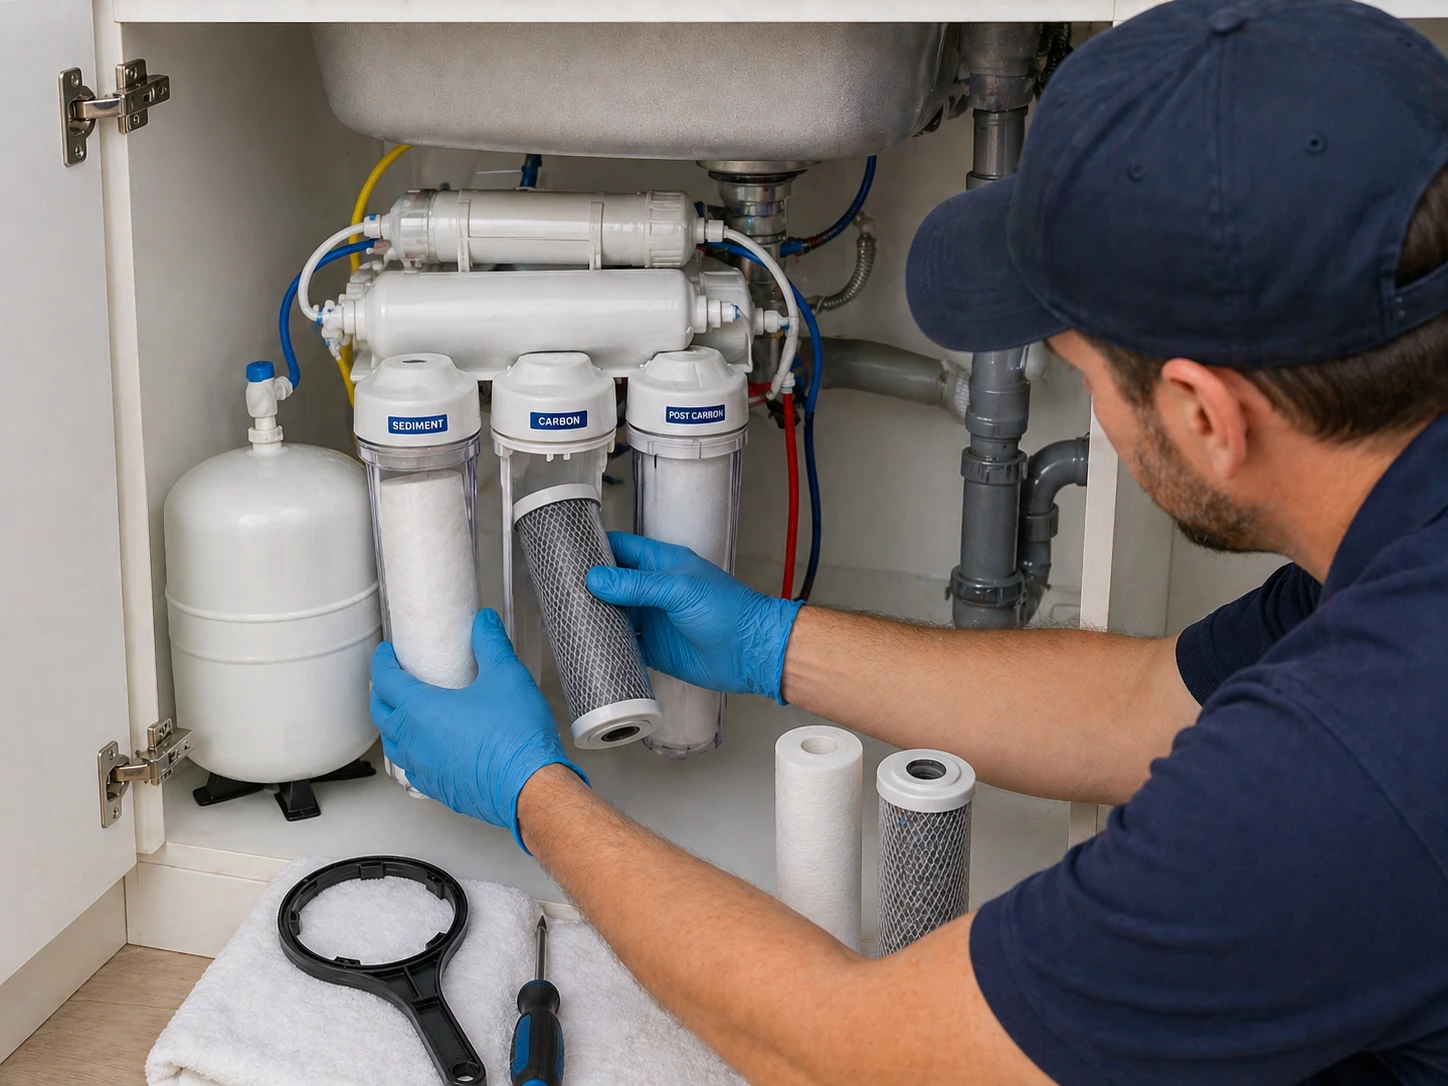
Reverse Osmosis (RO) is widely regarded as the pinnacle of residential water purification. In a city like Sydney, where water travels through an extensive network of ageing infrastructure, many homeowners are looking for ways to ensure their drinking water is free from chlorine, fluoride, and heavy metals. Understanding how to install an RO system is an empowering way to take control of your household’s health and sustainability.
While the technology inside a 5-stage or 7-stage system is complex, the physical under sink RO installation is remarkably straightforward for a handy homeowner. This RO system installation guide will walk you through the process, ensuring you meet Australian standards for a leak-free, high-performance result.
Why Choose a Reverse Osmosis System for Your Sydney Home?
Before diving into the DIY RO system installation, it is worth noting why this technology is so popular across New South Wales. Unlike standard carbon filters, an RO system uses a semi-permeable membrane to remove up to 99% of dissolved solids.
- Contaminant Removal: Effectively targets fluoride, lead, arsenic, and microplastics.
- Taste and Odour: Eliminates the “swimming pool” smell of chlorine common in Sydney’s metropolitan supply.
- Cost-Effective: Significantly cheaper than buying bottled water and far better for the environment.
Pre-Installation: Tools and Compliance
Before you begin your reverse osmosis installation, make sure you have the right tools and a basic understanding of local plumbing regulations.
Essential Tools List
- Variable Speed Drill: For creating the tap and drain holes.
- Drill Bits: 1/2″ (12mm) for the tap and 1/4″ (6mm) for the drain saddle.
- Adjustable Wrench: To tighten the feed water adapter and tank valve.
- Utility Knife: For cutting the colour-coded tubing squarely.
- Teflon Tape: To ensure watertight seals on all threaded connections.
Important: Australian Plumbing Standards
In Australia, the National Plumbing and Drainage Code (AS/NZS 3500) applies to all water installations. It is highly recommended that a licensed plumber perform the connection to the mains. Additionally, most Sydney homes require a Pressure Limiting Valve (PLV) set to 350-500kPa. This protects your system from the high-pressure spikes often seen in Sydney’s water network.
Step 1: Preparation and Feed Water Connection
The first step in how to install an RO system is connecting to your cold water supply.
- Isolate the Water: Turn off the cold water mini-stop valve under the sink. Open the kitchen tap to drain the remaining water.
- Install the Tee-Piece: Disconnect the flexible braided hose from the mini-stop. Screw on the provided 1/2″ female/male tee-piece (or the specific adapter provided with your kit).
- Reconnect the Hose: Attach your kitchen tap’s braided hose to the top of the tee-piece.
- Connect the Inlet Tube: Use the red tubing to connect the small ball valve on the tee-piece to the first stage (sediment filter) of your RO unit.
Step 2: Installing the Pure Water Tap
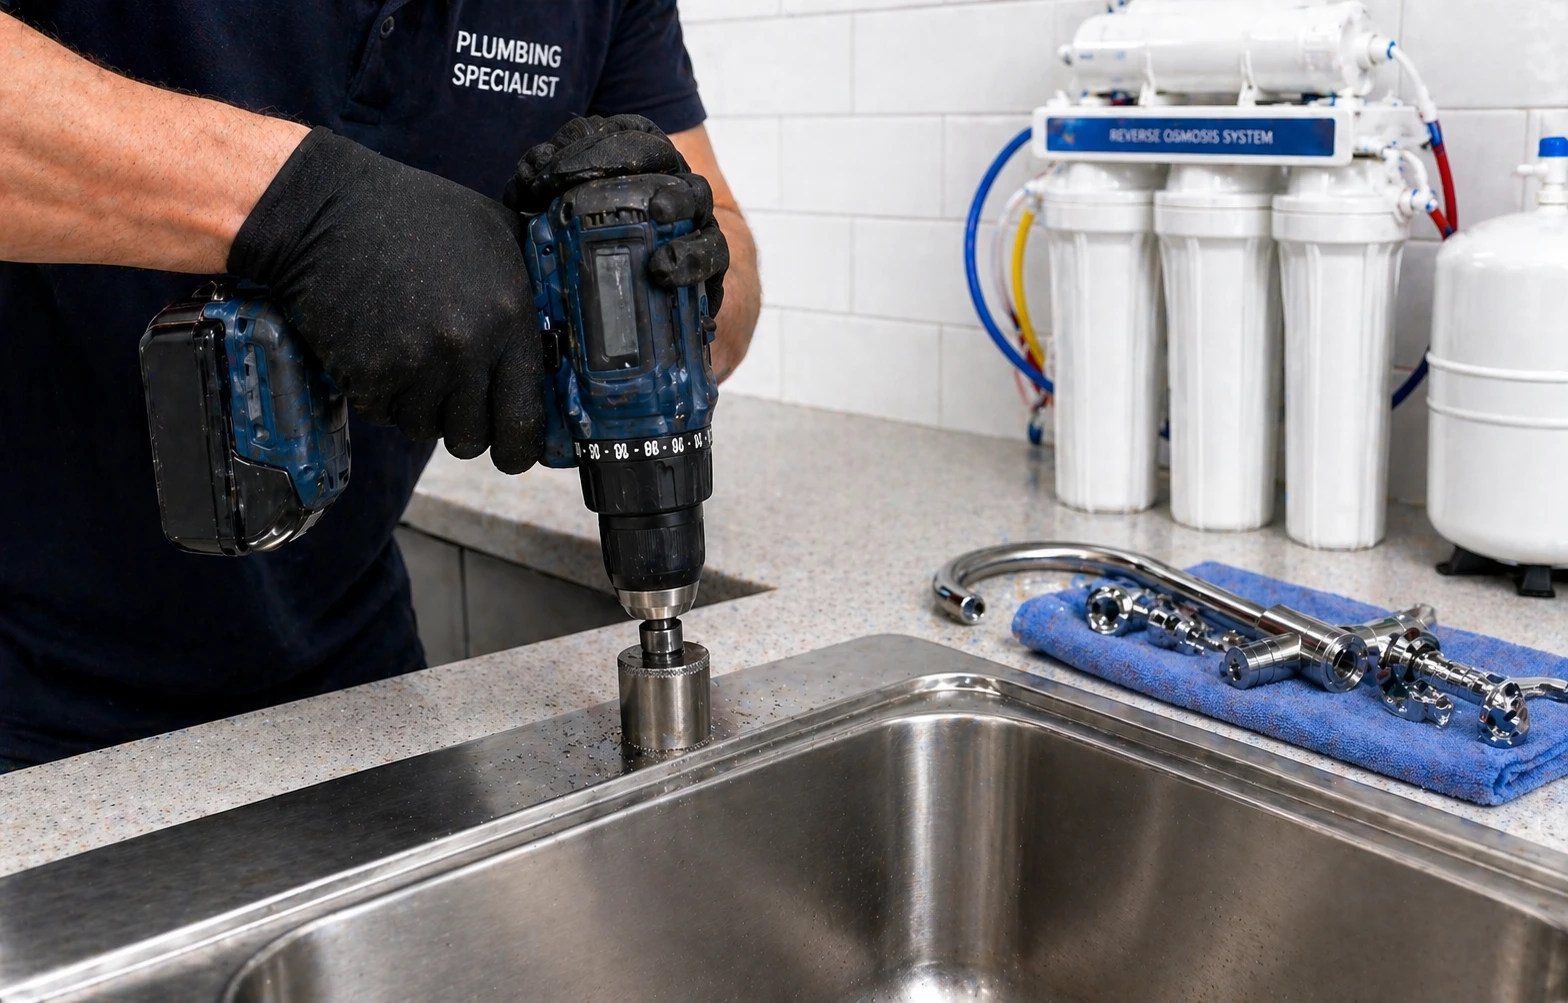
If your sink doesn’t have a spare hole, you will need to drill one through the benchtop or the stainless steel sink wing.
- Mark and Drill: Select a flat surface. If drilling through stone or granite, use a diamond-tipped hole saw. For stainless steel, a standard 12mm metal drill bit works perfectly.
- Assemble the Tap: Place the chrome plate and rubber washer over the tap stem and insert it through the hole.
- Secure Underneath: Slide on the plastic locating washer and the nut. Tighten firmly with your wrench.
- Connect the Line: Use the blue tubing to connect the base of the tap to the final stage (usually the alkaline or carbon post-filter) of the RO system.
Step 3: Setting Up the Drain Saddle
Unlike standard filters, an RO system produces “brine” (wastewater) that must be diverted to the drain. Getting this step right protects your membrane from backflow and keeps your under-sink setup working efficiently.
- Position the Saddle: Choose a spot on the sink drain pipe above the S-bend.
- Drill the Pipe: Drill a 1/4″ (6mm) hole through one side of the drain pipe.
- Align and Tighten: Align the drain saddle hole with the hole in the pipe. Tighten the bolts evenly.
- Connect the Waste Line: Insert the black tubing from the RO membrane’s waste port into the drain saddle.
Step 4: Positioning the Storage Tank
Because RO systems produce water slowly (roughly 200ml per minute), a storage tank is used to provide water on demand.
- Prep the Tank: Wrap the tank’s threaded nipple with Teflon tape and screw on the plastic tank ball valve (hand-tighten only to avoid cracking).
- Connect to System: Use the white tubing to connect the tank valve to the “T” fitting on the final filter stage.
- Placement: You can stand the tank upright or lay it on its side if space is limited under your sink.
Step 5: System Start-up and Flushing
The final phase of your reverse osmosis installation is the commissioning process.
- Open the Inlet: Slowly turn on the cold water supply and check for any immediate leaks.
- Purge the Air: With the tank valve closed, open the RO tap. Within a few minutes, water will begin to drip. Let this run for 15 minutes to clear carbon fines.
- Fill the Tank: Close the RO tap and open the tank valve. Allow the tank to fill (usually 2-3 hours).
- Final Flush: Once full, open the RO tap and drain the entire tank to waste. Repeat this fill-and-drain cycle one more time before drinking.
Maintenance for Your Under-Sink RO Installation
To keep your under-sink RO installation performing at its peak, follow this Sydney-standard maintenance schedule:
- Stages 1-3 (Pre-filters): Replace every 6–12 months.
- Stage 4 (RO Membrane): Replace every 2–4 years (check with a TDS meter).
- Final Stages (Post-Alkaline): Replace every 12 months.
Frequently Asked Questions
Do I need a plumber to install an RO system in Sydney?
While many homeowners choose a DIY RO system installation, Australian plumbing regulations generally require a licensed plumber for any permanent connection to the mains water supply. This ensures the installation is leak-free and compliant with local standards, protecting your home’s insurance and warranty.
What is a Pressure Limiting Valve (PLV), and do I really need one?
Yes. Sydney’s water network can experience significant pressure spikes, especially at night. A PLV reduces the incoming pressure to a safe level (typically 350-500kPa). Without one, the high pressure can cause the plastic housings or fittings of your under sink RO installation to crack or burst.
How much water does an RO system waste?
Traditional RO systems used to waste up to 4 litres for every 1 litre of pure water produced. However, modern, high-efficiency systems have significantly improved this ratio to as low as 1:1. This “waste” water is necessary to flush the contaminants away from the membrane, preventing it from clogging.
Does reverse osmosis remove healthy minerals?
Reverse osmosis is so effective that it removes almost everything, including beneficial minerals like calcium and magnesium. This is why we recommend a 7-stage system with an alkaline post-filter to re-mineralise the water, balancing the pH and improving the taste.
Can I install an RO system if I have a granite or stone benchtop?
Yes, but it requires extra care. Drilling through stone requires a diamond-tipped hole saw and a steady hand with water cooling to prevent cracking. If you are uncomfortable drilling into your stone benchtop, we’d recommend replacing your existing kitchen tap with a three-way mixer tap, which avoids the need to drill an extra hole altogether.
Ready for Professional RO Installation in Sydney?
Learning how to install an RO system is one of the most practical steps a Sydney homeowner can take for long-term water quality. It removes the guesswork from what comes out of your tap and gives your family the highest level of protection available. Whether you choose a DIY RO system installation or prefer the peace of mind of a professional, the result is a healthier, more sustainable home.
If you’d prefer to leave the drilling and plumbing to the experts, Full House Water Filtration is here to help. We specialise in high-performance reverse osmosis systems tailored specifically for Sydney’s water conditions. Our licensed team ensures a perfect, leak-free under-sink RO installation every time.
